Manage your website
For creating a new page :
– Go to “Pages” where you can see the list of all your pages.
– Click on “Add new”.
– Add a title
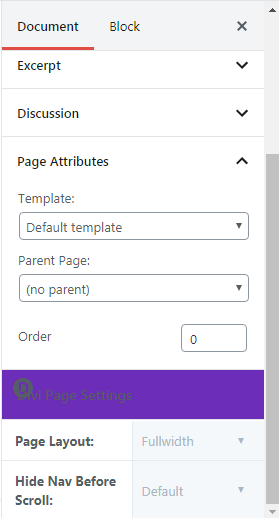
– On the right, there are some boxes. The seventh’s called “Page attributes”. Set it on “Blank page” instead of “default template”.
– Just below, you have “Divi page settings”. Set the “Page layout” on “Fullwith”.
– Publish your page and go on it with “preview” or “view”.
– On the top of the page, there’s a nav bar and, below, the title you choose. Click on “Enable Visual Builder”.
– Click on the purple button at the bottom.

– In the left bottom corner, you have some logos. They allow you to see your page by different ways. I usually use the first logo which displays all the boxes and modules you use. I think it’s easier to manage a page by that way. You can switch the views as you want while editing the page.
For adding/editing contents :
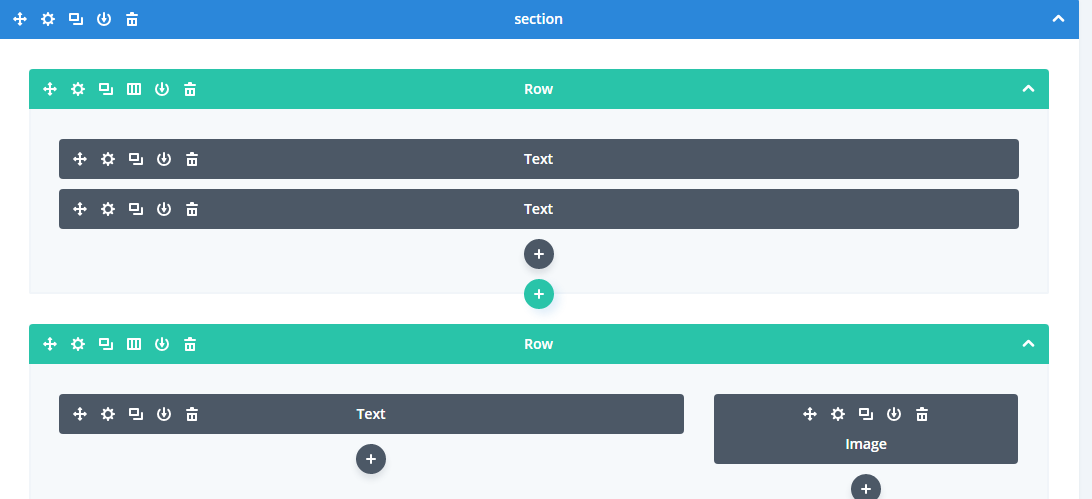
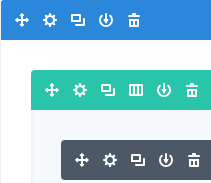
– Divi builder is made by boxes. You can create sections, lines, columns and contents. In blue, you have the sections that will contain the lines. In green, you have the lines that will contain the columns. Lines can be divided by columns, but there’s no particular color for it. In your columns, your can add modules in dark grey.
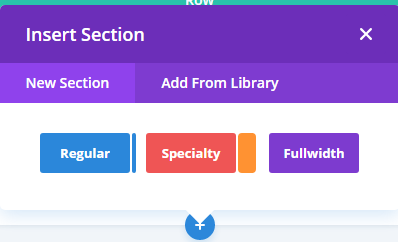
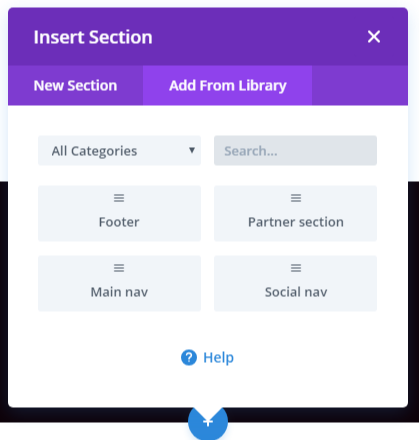
– First, create a section. There are three types. Usually, we use “Fullwidth” for headers and “Regular” for the rest. In “Add from Library”, you have all your saved sections. I made some for not recreating them every time I use them, like the main menu, the footer, et caetera.
– If you click on “Regular”, it will ask you to create a line in it. Choose the one you want.
– Next, it will ask you to choose the module your want to use. There are 46 modules. I put two buttons to see the documentations. For the second one, you have to scroll until you see the list for the modules called “46 content modules”. By clicking on each, you can see what you can do with.

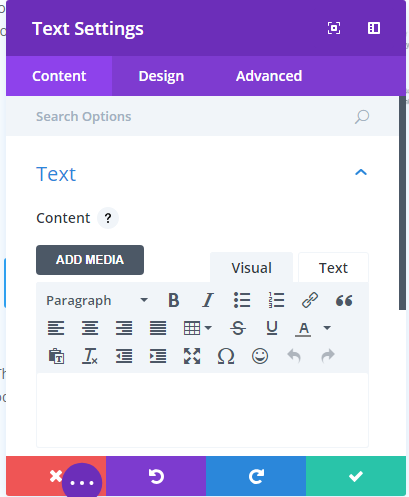
– Now you have created the module you want, a settings box is open. There are three tabs. The first one is made for content, the second one for design. The third is for adding code.
– For a text box, you can put your content in the first tab. Next, you can choose your font, your size, your color, your alignment, and some other settings in “Design”.
– As the modules, sections and lines can be modified too. You can click on the second logo, the wheel, to see it. I usually make my lines “fullwidth” for not having the margins on the sides. This line is in fullwidth instead of the others for you to see the difference.
– The two squares overlapping is made for copy and paste something. The created box will be display just below the original one. You can drag and drop it to the place it should be by holding the first logo but you can drap and drop it by holding anywhere on the element.
– The three bars is for changing the line type (adding/removing columns).
– The arrow is for keeping the element in Library and reusing it later.
– The trash can for deleting the element.
For creating a partner’s page :
– Create a page as it said at the top of this one.
– Add all the sections with “Library”.
– Create them in this order : Social nav, Main nav, Partner section, Footer.
– Modify the Partner section. Click on the text to modify it, go in the image settings to change it. Go in the button section to add the link to their website and choose the social networks they use. Add the links to them. Here is a link to view the templates.
– For adding the new partner to the maps, you have to return the the Dashboard.
– Go in the plugin called Ultimate Map.
– Click on Edit the map.
– Go in the markers tab.
– Name it by the partner’s name.
– Click on “Add media” and put the logo. Then, in the right part of the media window, scroll down until you see “link to”. Select “Custom URL” and add the link to the partner’s page you created before.
– Add latitude and longitude or address.
For adding a project or a post in news :
– In the dashboard, go in “Posts”. Create a new one and give it a title and a text content.
– Add a featured image in the right sidebar. It will appears at the top of your post. If you want more images, add them in the content. They won’t appear on the home page.
– In the right sidebar, select the category you want your post appears. If you select “News”, it will be displayed at the end of the home page. If you select a category of projects, it will be displayed on the dedicated page. If it’s the last post of the projects category, it will be displayed on the home page next to the Facebook feed. All the posts on the home page aren’t displayed entierly. Only the featured image and the beggining of the text will be visible.
– Go to see you post in its dedicated page. Enable the Visual Builder and add the menu at the top and the footer at the bottom of the page. The menu and the footer are premade in the library.